Settings
System Settings
Next step is to update system settings according to your environment.
Go to Admin Panel => System Settings=> System Settings
Enter details as following screen shot
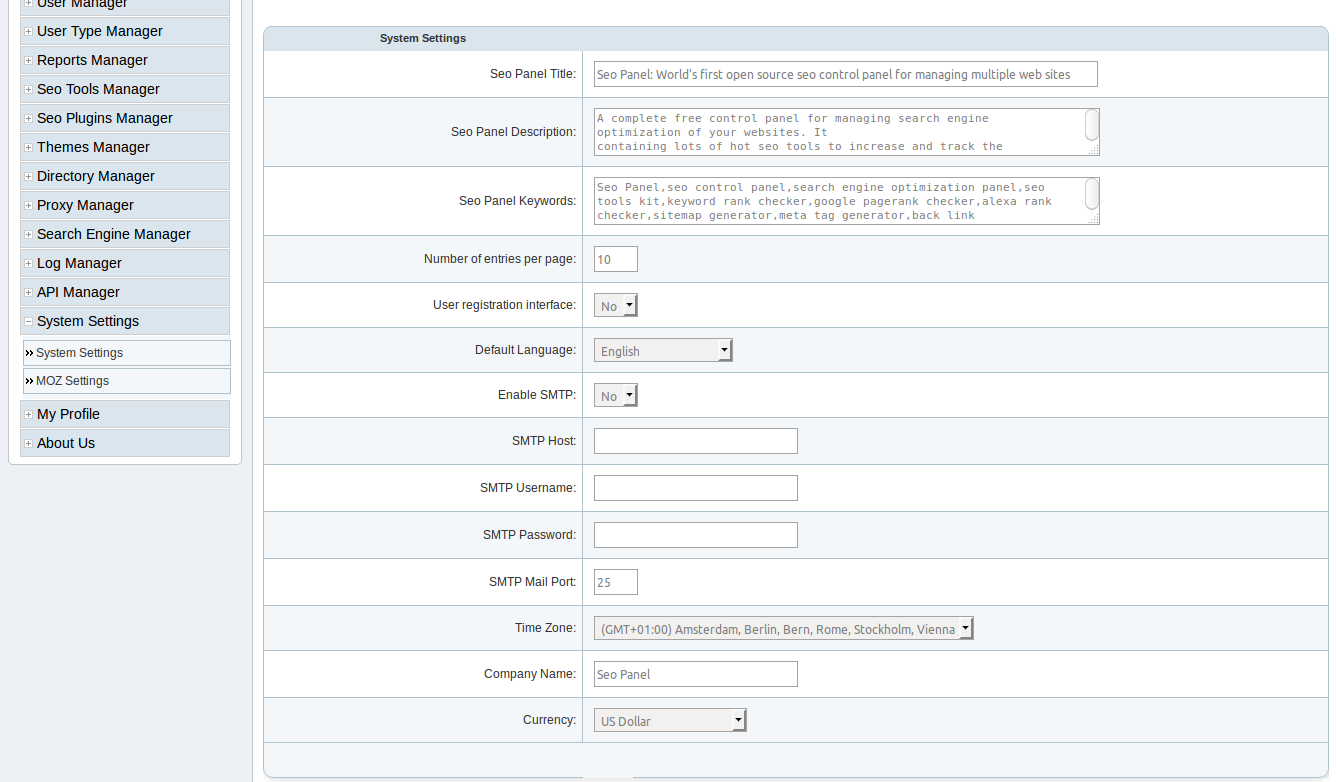
Seo Panel Title - The title of your seo panel installation Eg: Smith’s seo panel
Seo Panel Description - The meta description of your seo panel installation
Seo Panel Keywords - The meta keywords of your seo panel installation
Number of entries per page - The max number of entries to start pagination(Default value is ‘10’)
User registration interface - Enable / Disable users to register in your seo panel
Default Language - The default language of your seo panel
SMTP Settings
- Enable SMTP - Enable / Disable smtp settings for sending mail from seo panel
- SMTP Host - The hostname of smtp server(default value is ‘localhost’)
- SMTP Username - SMTP account username
- SMTP Password - SMTP account password
- SMTP Mail Port - SMTP mail port used(default value is ‘25’)
Time Zone: - Your timezone to see reports in your time
Company Name - The name of your company
Currency - Currency used in seo panel transactions
MOZ Settings
Setup MOZ API to get website ranking related informations
Go to Admin Panel => System Settings=> MOZ Settings
Click on `Click here to get MOZ account` link to get free MOZ API account
Enter details as following screen shot
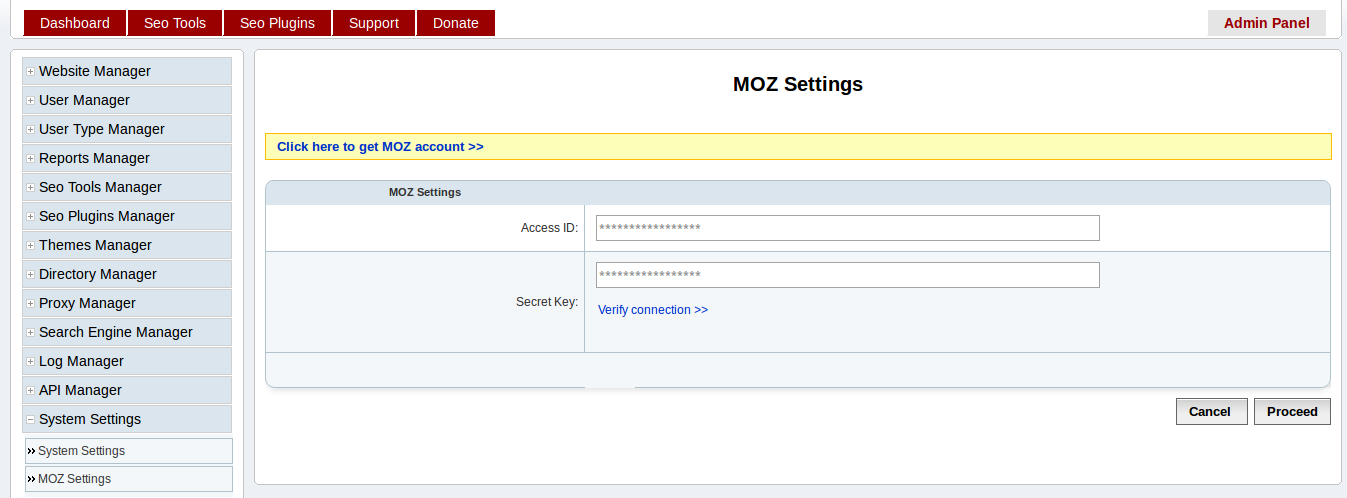
- Access ID - The access id of MOZ API
- Secret Key - The secret key of MOZ API
Click on `Verify connection` link to verify the API settings are working
Google Settings
Setup Google API Key and OAuth2 credentials to get website informations from google api resources.
Google API Key
Google API key is mainly used for accessing public api resources like Pagespeed checker
Go to Admin Panel => System Settings=> Google Settings
Click on `Click here to get Google API Key` link to get google API key
Enter google api key generated from above step.
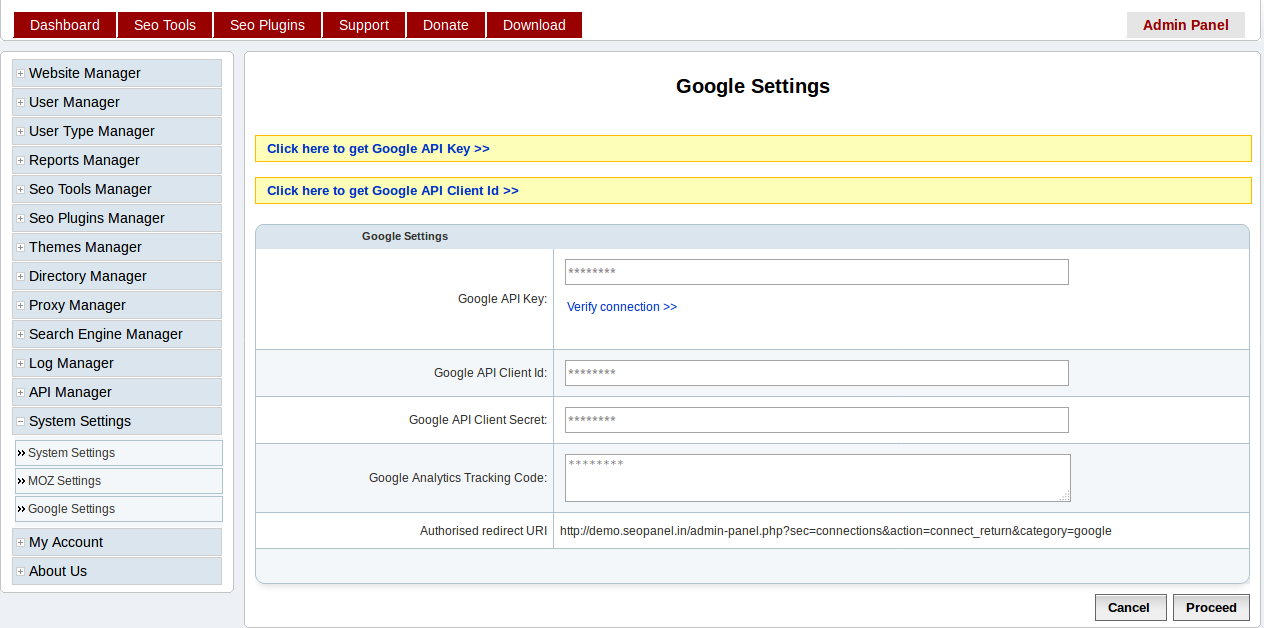
- Google API Key - The google API key generated using above step
Click on `Verify connection` link to verify the API Key settings are working
Google OAuth2 credentials
Google OAuth2 credentials used for accessing private api resources using secured connection. It requires user authentication to access the api resources.
Eg: Webmaster Tools
Go to Admin Panel => System Settings=> Google Settings
Click on `Click here to get Google API Client Id` link to get OAuth2 credentials
https://developers.google.com/adwords/api/docs/guides/authentication
Steps to create the OAuth2 credentials
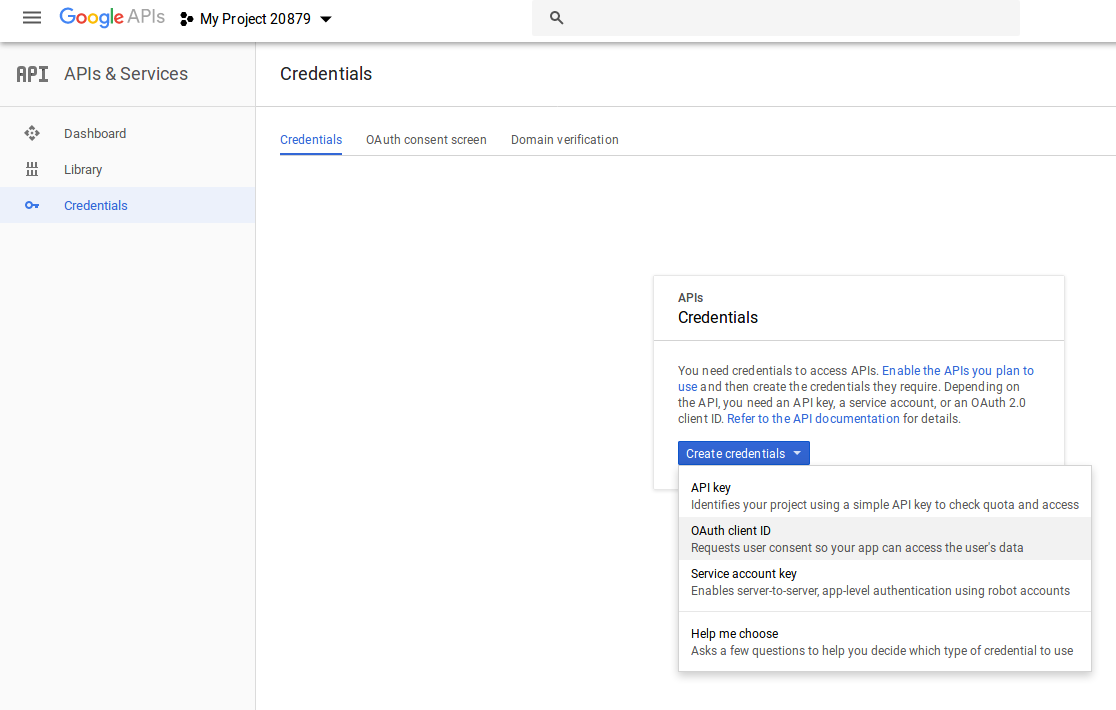
Go to the API Console
From the projects list, select a project or create a new one.
If the APIs & services page isn’t already open, open the left side menu and select APIs & services.
On the left, choose Credentials
Click Create credentials and then select OAuth client ID
Configure Consent Screen, If you didn’t configure earlier. Click on Configure consent screen
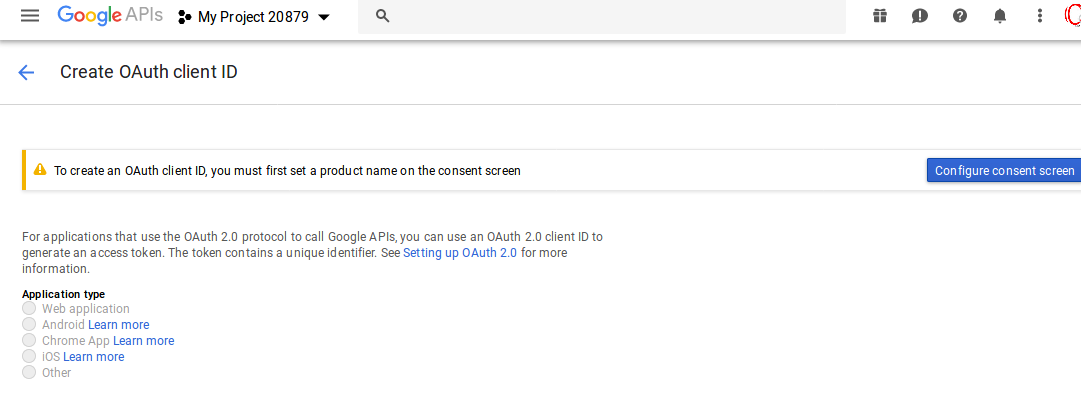
Configure Consent Screen like below image

If your seo panel is setup in a link
http://testdomain.com/seopanel or http://seopanel.testdomain.com/
Add testdomain.com in Authorised domains section.
Once Consent Screen is configured, Click on Create credentials and then select OAuth client ID
You will be redirected to a page like below image and Select Application type as Web application
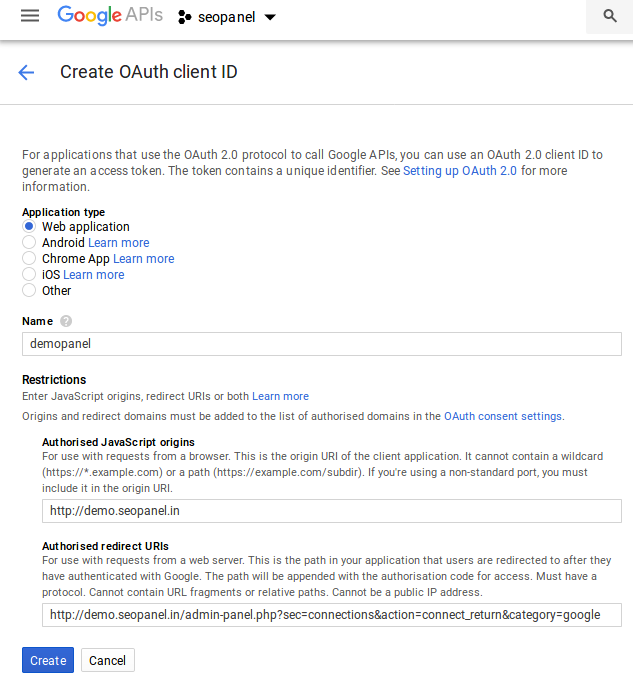
Authorised JavaScript origins
If your seo panel is setup in a link http://testdomain.com/seopanel use http://testdomain.com
If your seo panel is setup in a link http://seopanel.testdomain.com/ use http://seopanel.testdomain.com
Authorised redirect URIs - From below image screen copy Authorised redirect URI
After submission you will get Google Client Id and Client Secret from below screen
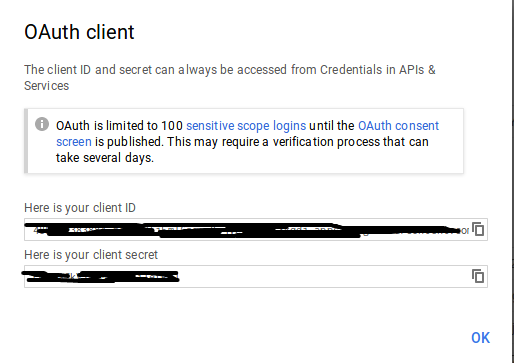
Enter details as following screen shot
- Google API Client Id - The google Client Id generated using above step
- Google API Client Secret - The google Client Secret generated using above step
Enable Google API used for seo panel
Webmaster Tools
Go to https://console.developers.google.com/apis/library/searchconsole.googleapis.com
Then click on ENABLE button
PageSpeed Insights API
Go to https://console.developers.google.com/apis/library/pagespeedonline.googleapis.com
Then click on ENABLE button
Google Analytics API
Go to https://console.developers.google.com/apis/library/analyticsreporting.googleapis.com
Then click on ENABLE button
Connect to your google account
Each user needs to connect to their own google account to provide access to their webmaster tools, analytics etc
Here you can connect to different search engines and social media to access its details in seo panel.
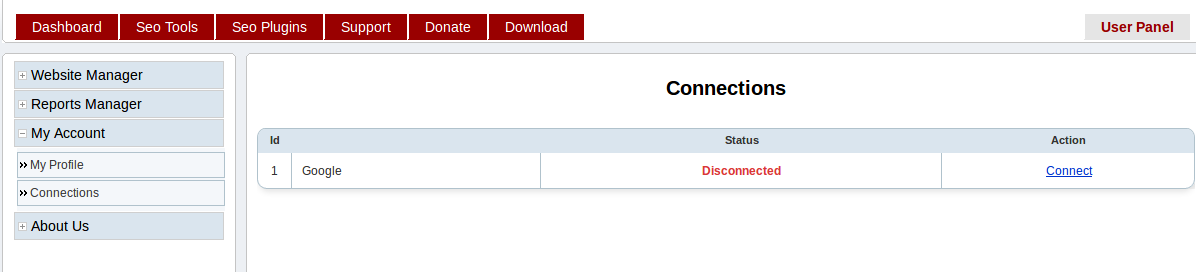
Go to Admin Panel => My Account => Connections
Connect to Google
It will provide access for seo panel to connect with your google API resources like webmaster tools, analytics etc.
Click on `Connect` link to connect google
Allow access for google api to connect.

After successfull connection you will get following screen

Google Analytics
Google analytics code used to know the number of visitors accessing your seo panel.
Go to Admin Panel => System Settings=> Google Settings
Enter details as following screen shot
- Google Analytics Tracking Code - Enter the corresponding code from google analytics for your seo panel.
Go to google analytics dashboard and verify the code is working.